この記事は、XAML Advent Calendar 2017の1日目の記事です。
今年のbuildでは、Fluent Design Systemが発表され、Windowsの各種UIでも徐々にこういうデザインの部分が増えてきました。
このFluent Designですが、UWPからは簡単に実装することができるAPIが色々用意されています。 しかし、残念ながらWPFでこのようなデザインを実装するための手段は用意されていません。
そうは言っても、WPFでもこういうカッコいいデザインのウィンドウを作ってみたいですよね。
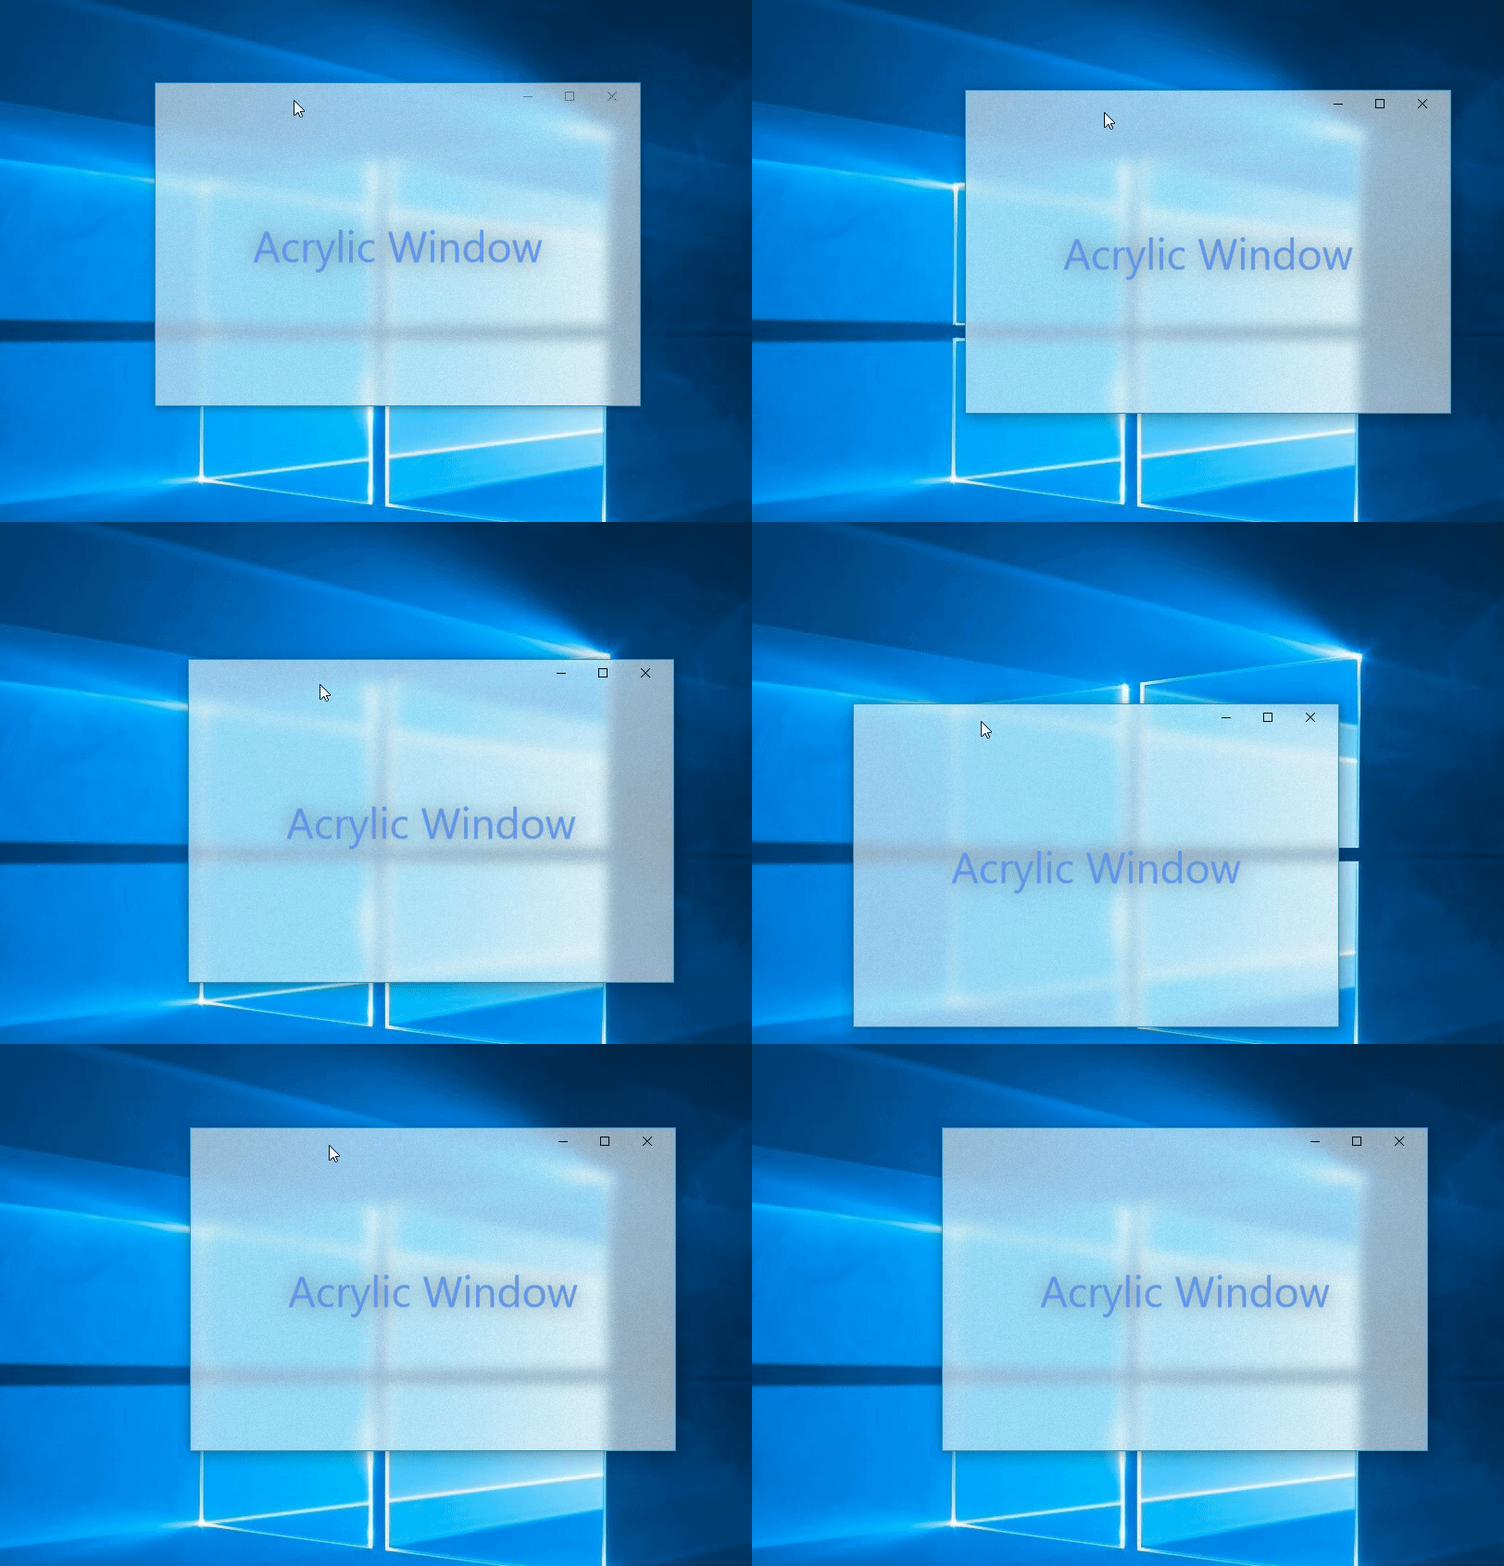
ということでWPFでこういうFluent Designのアクリル風なウィンドウを真似してみました。

Windowを半透明にする方法
Fluent Design Systemのアクリル効果を適用するAPIはUWP用のものしかなく、WPF向のAPIはありません。
また、Win32APIでもこのようなアクリル化を行うAPIはないので、デスクトップアプリでFluentDesignと同等のアクリル効果を出すことはできません。
完全に同じ効果を出すことはできませんが、Windowsの非公開APIでSetWindowCompositionAttributeという関数があり、このAPIを使うとウィンドウ背景をいい感じにぼかすことができます。
FluentDesingのボケ方とはちょっと違うんですが、現状WPFでそれっぽい表示をする方法はこれしか見当たりません。。。
ということで、この非公開APIを使って、アクリルっぽいウィンドウを作ってみました。
参考リンク
以下のリポジトリで行っているアクリルエフェクトを参考にやってみました。 https://github.com/bbougot/AcrylicWPF上記リポジトリのサンプルでも、SetWindowCompositionAttribute関数を使って背景のぼかし処理を行っています。
SetWindowCompositionAttribute関数を使ったぼかし処理については↓の記事も参考になります。 https://withinrafael.com/2015/07/08/adding-the-aero-glass-blur-to-your-windows-10-apps/
サンプルコード
とりあえず、XAMLとコードビハインドをそれぞれ以下のように書いてみます。
MainWindow.xaml
WindowChromeを設定し、GlassFrameThickness="-1"と設定して、ウィンドウのクライアント領域全体を透かすようにしてます。
また、以下の画像のようなノイズ画像を用意し、ぼかし背景の全面に少しノイズを加えています。
<Window x:Class="AcrylicWindowSample.MainWindow"xmlns="http://schemas.microsoft.com/winfx/2006/xaml/presentation"xmlns:x="http://schemas.microsoft.com/winfx/2006/xaml"xmlns:d="http://schemas.microsoft.com/expression/blend/2008"xmlns:local="clr-namespace:AcrylicWindowSample"xmlns:mc="http://schemas.openxmlformats.org/markup-compatibility/2006"Title="MainWindow"Width="525"Height="350"BorderBrush="#FF2990CC"BorderThickness="1"mc:Ignorable="d"><WindowChrome.WindowChrome><WindowChrome CaptionHeight="{x:Static SystemParameters.CaptionHeight}"GlassFrameThickness="-1"ResizeBorderThickness="{x:Static SystemParameters.WindowResizeBorderThickness}"UseAeroCaptionButtons="True" /></WindowChrome.WindowChrome><Window.Background><!-- Tiled noise texture --><ImageBrush ImageSource="Images/noise.png"Opacity="0.05"Stretch="None"TileMode="Tile"Viewport="0,0,128,128"ViewportUnits="Absolute" /></Window.Background><Grid><TextBlock HorizontalAlignment="Center"VerticalAlignment="Center"FontSize="46"Foreground="CornflowerBlue"Text="Acrylic Window"><TextBlock.Effect><DropShadowEffect ShadowDepth="0"BlurRadius="35"Color="DarkGray"Opacity="0.8" /></TextBlock.Effect></TextBlock></Grid></Window>
MainWindow.xaml.cs
コードビハインドでは、EnableBlurという関数を作り、この関数の中で非公開APIのSetWindowCompositionAttribute関数を使ったウィンドウのぼかし処理を実装します。
また、このEnableBlurメソッドは、OnApplyTemplateのタイミングで呼び出しを行います。
namespace AcrylicWindowSample
{
    [StructLayout(LayoutKind.Sequential)]
    internalstruct WindowCompositionAttributeData
    {
        public WindowCompositionAttribute Attribute;
        public IntPtr Data;
        publicint SizeOfData;
    }

    internalenum WindowCompositionAttribute
    {
        WCA_ACCENT_POLICY = 19
    }

    internalenum AccentState
    {
        ACCENT_DISABLED = 0,
        ACCENT_ENABLE_GRADIENT = 1,
        ACCENT_ENABLE_TRANSPARENTGRADIENT = 2,
        ACCENT_ENABLE_BLURBEHIND = 3,
        ACCENT_INVALID_STATE = 4
    }

    [StructLayout(LayoutKind.Sequential)]
    internalstruct AccentPolicy
    {
        public AccentState AccentState;
        publicint AccentFlags;
        publicuint GradientColor;
        publicint AnimationId;
    }

    /// <summary>/// MainWindow.xaml の相互作用ロジック/// </summary>publicpartialclass MainWindow : Window
    {
        public MainWindow()
        {
            InitializeComponent();
        }

        publicoverridevoid OnApplyTemplate()
        {
            base.OnApplyTemplate();
            // ウィンドウ背景のぼかし効果を有効にする
            EnableBlur(this);
        }


        [DllImport("user32.dll")]
        internalstaticexternint SetWindowCompositionAttribute(IntPtr hwnd, ref WindowCompositionAttributeData data);

        internalstaticvoid EnableBlur(Window win)
        {
            var windowHelper = new WindowInteropHelper(win);

            var accent = new AccentPolicy();
            var accentStructSize = Marshal.SizeOf(accent);
            accent.AccentState = AccentState.ACCENT_ENABLE_BLURBEHIND;
            accent.AccentFlags = 2;
            //               ↓の色はAABBGGRRの順番で設定する
            accent.GradientColor = 0x99FFFFFF;  // 60%の透明度が基本

            var accentPtr = Marshal.AllocHGlobal(accentStructSize);
            Marshal.StructureToPtr(accent, accentPtr, false);

            var data = new WindowCompositionAttributeData();
            data.Attribute = WindowCompositionAttribute.WCA_ACCENT_POLICY;
            data.SizeOfData = accentStructSize;
            data.Data = accentPtr;

            SetWindowCompositionAttribute(windowHelper.Handle, ref data);

            Marshal.FreeHGlobal(accentPtr);
        }

    }
}
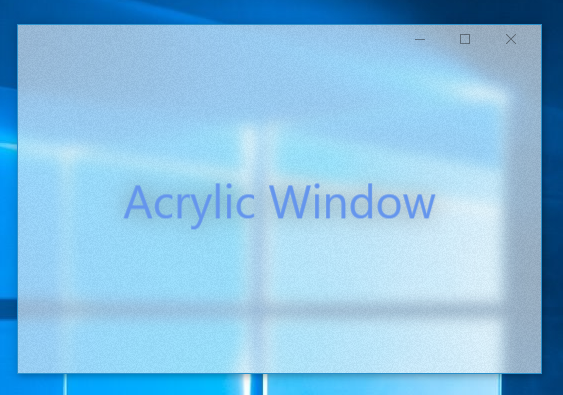
実行結果
こんな風に、ちょっとFluentDesignっぽいアクリル風なウィンドウができました。
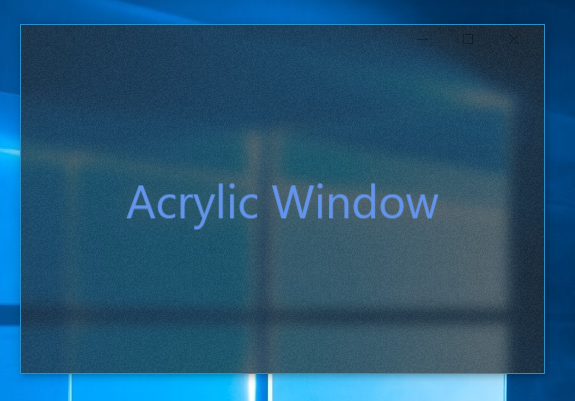
ここで、以下の accent.GradientColorの値を変えると、ウィンドウ背景の色味を調整することができます。
            //               ↓の色はAABBGGRRの順番で設定する
            accent.GradientColor = 0x99FFFFFF;  // 60%の透明度が基本
accent.GradientColor = 0xAA222222;とするとこんな感じの表示になります。

サンプルコード一式は、GitHubの以下のリポジトリに置いておきました。 github.com
非公開APIを使った処理なので、あまり積極的に使うべき方法ではないとは思います。
ですが、現状のWPFでアクリルっぽいウィンドウを作るには、こんな方法しかないのかな。。。