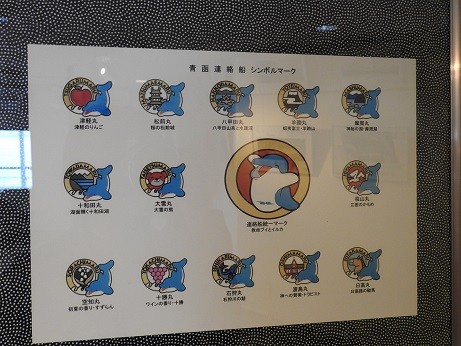
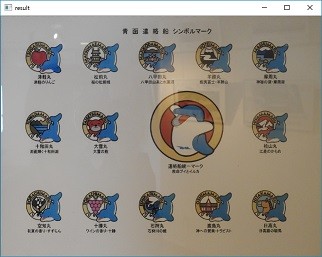
OpenCvSharpを使って、透視変換を行ってみました。
staticvoid Main(string[] args)
        {
            // 入力画像中の四角形の頂点座標
            var srcPoints = new Point2f[] {
                new Point2f(69, 110),
                new Point2f(81, 857),
                new Point2f(1042, 786),
                new Point2f(1038, 147),
            };

            // srcで指定した4点が、出力画像中で位置する座標
            var dstPoints = new Point2f[] {
                new Point2f(0, 0),
                new Point2f(0, 480),
                new Point2f(640, 480),
                new Point2f(640, 0),
            };

            using (var matrix = Cv2.GetPerspectiveTransform(srcPoints, dstPoints))
            using (var src = new Mat("Images/1.jpg"))
            using (var dst = new Mat(new Size(640, 480), MatType.CV_8UC3))
            {
                // 透視変換
                Cv2.WarpPerspective(src, dst, matrix, dst.Size());
                using (new Window("result", dst))
                {
                    Cv2.WaitKey();
                }
            }
        }
こんな感じのコードで、この画像が
こうなる!!
これはなかなか便利そうですね。
カメラ画像を利用する際など、いろんな場面で活用できそうです。